Sourcing images for blogs is hard. Eye-catching visual content is a huge factor in creating shareable, readable content — but unless you’re a photographer or designer, it can be daunting to find or create images.
You could just use a stock photo, but you know our feelings on that subject. Once shared, your blog appears amid thousands of others in the social media feeds. To catch your target audience’s attention you need to send up a flare.
At Forge and Smith we’re really picky about the visual content in our own blog. Our creative team jokingly uses #Forge and #Smith as adjectives while working on projects, but they’re actually great terms for approaching visual content. #Forge represents the work required to produce a quality photo, while #Smith is how to fine-tune an image to make it your own.
Get ready to learn how to #Forge and #Smith your blog in this three-part series by Forge’s dynamic duo: designer Damian and senior digital strategist Pam.
Post Contents
#Forge your photo
Most blogs include news items and events, but having visual content for this type of content can prove to be a challenge. How many times have you checked your smart phone later to find you’ve got a bunch of pics that are blurry, have bad lighting, or you totally forgot to even take photos?
1. Take your point-and-shoot
If you know you’re attending an event or there’s something specific you want to shoot for your website, don’t rely on your smart phone; take a point-and-shoot camera. If you have an SLR camera, you’re ahead of the game.
- You’re more likely to remember to take a photo if you have a heavy object dangling from your wrist or neck.
- While smart phone cameras have made huge advances, a lot of models still don’t have the image stabilization and zoom of a point-and-shoot camera. This makes for better action and low-lighting shots.
While you’re at the event, be sure to take some photos of the surroundings. These can be used for supporting graphics or additional social images. Things like name cards, table settings, and event signage can do wonders to break up text-heavy content in your blog, and add variety to your social shares when rotated in as features.
To level up, take a mini-tripod with you for group photos and unique shots.
2. Consider your subjects and lighting
Anyone who knows a little about photography has heard of the rule of thirds: when you take a photo, place the subject somewhere other than the very centre of the frame to make it more interesting. There are other simple things to consider as well.
- Change your angle to make the subject appear taller or smaller, or to get an unattractive piece of background out of the frame. Keep in mind that taking photos from lower angles can be unflattering!
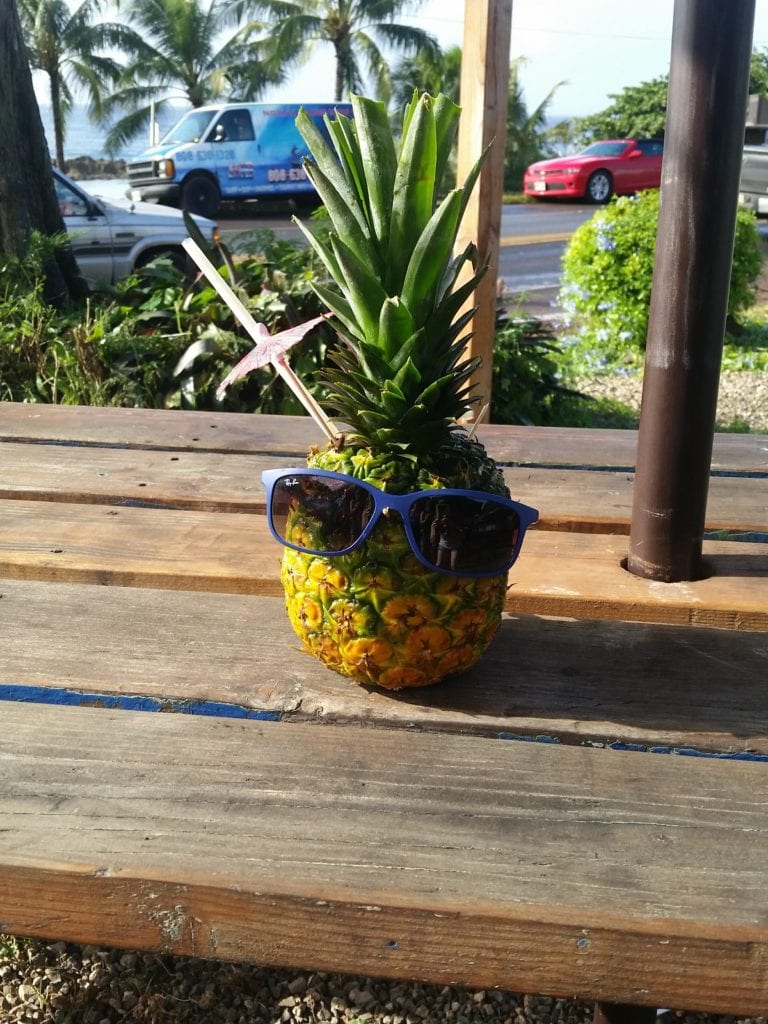
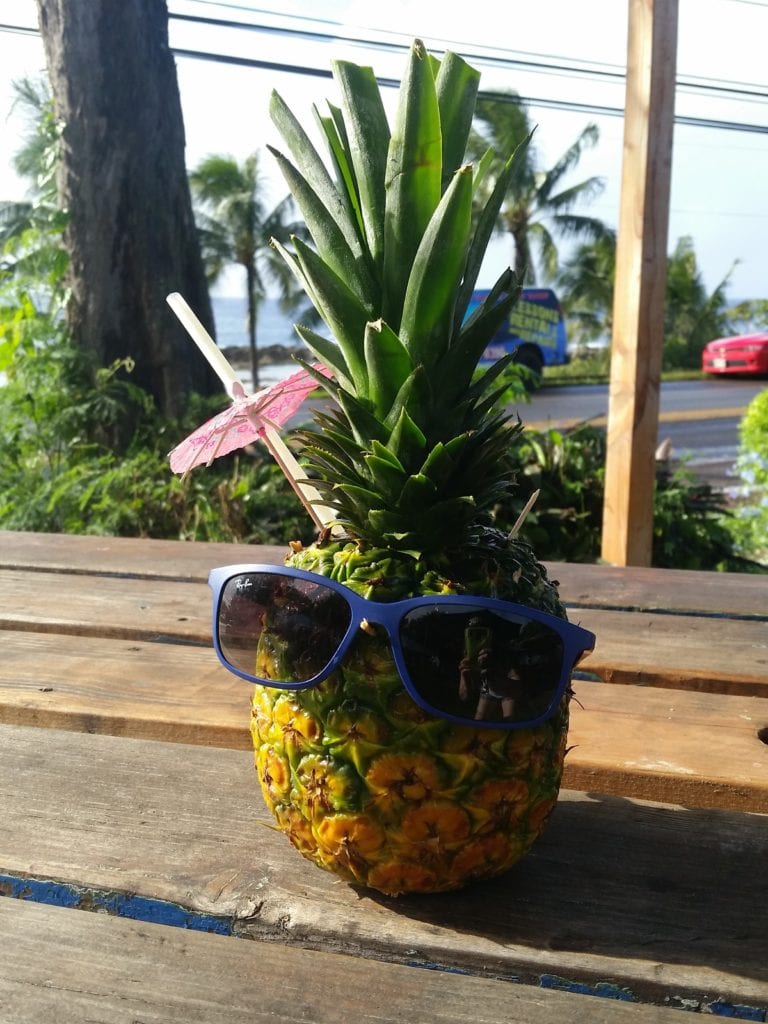
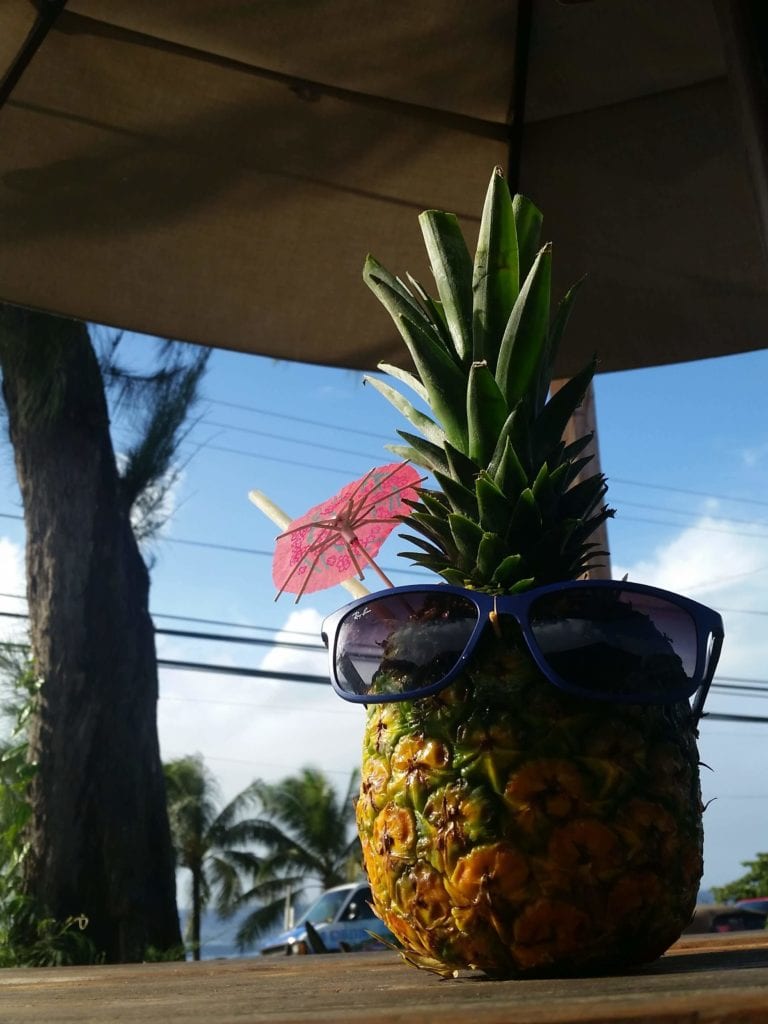
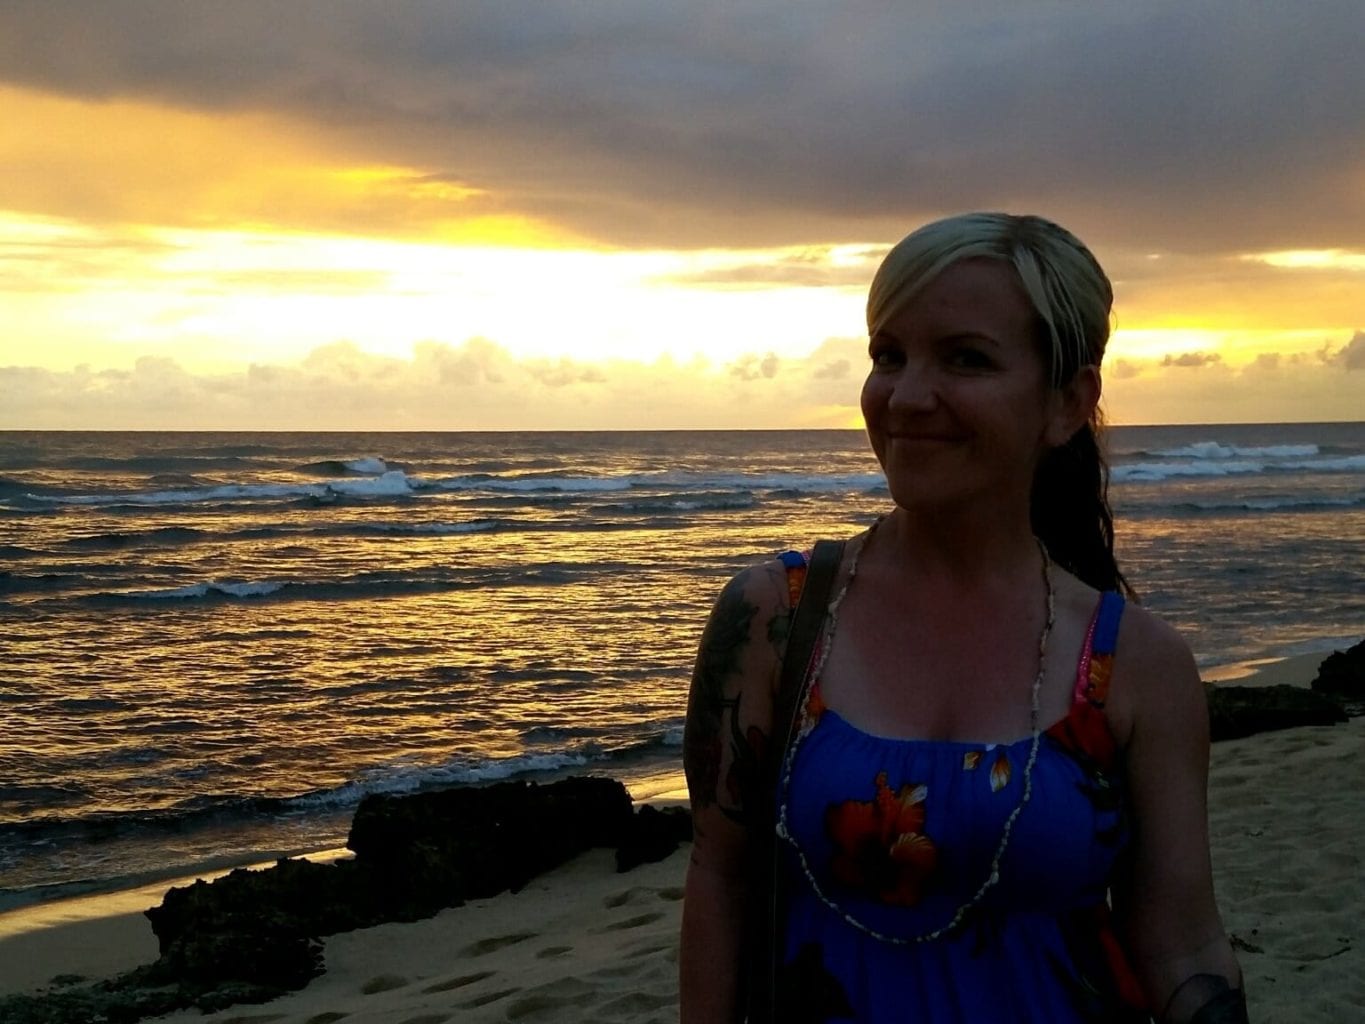
Here’s a great example in photos Pam took on a recent trip to Hawai’i. She tried three different positions and angles to eliminate the distracting background.
- Are you taking photos of an excited child or sporting event, or someone standing at a podium or art on a wall? Have the right setting in place so you’re ready to shoot. Use manual settings to choose a faster shutter or film speed (ISO) for moving objects, and a lower ISO or automatic setting for stationary objects.
Bright images generally receive more engagement than darker ones, and you almost always want your subject to be in focus and well-lit. We can’t control the weather or lighting at events, but that’s where smarts come in handy!
- Side-lit or brightly lit subjects look best, while back-lit subjects can be too dark (unless that’s the look you’re going for). If your subject has to be standing in front of a window, bright sky, or other light source, change your angle. Move to the side, crouch down, or climb up on a chair.
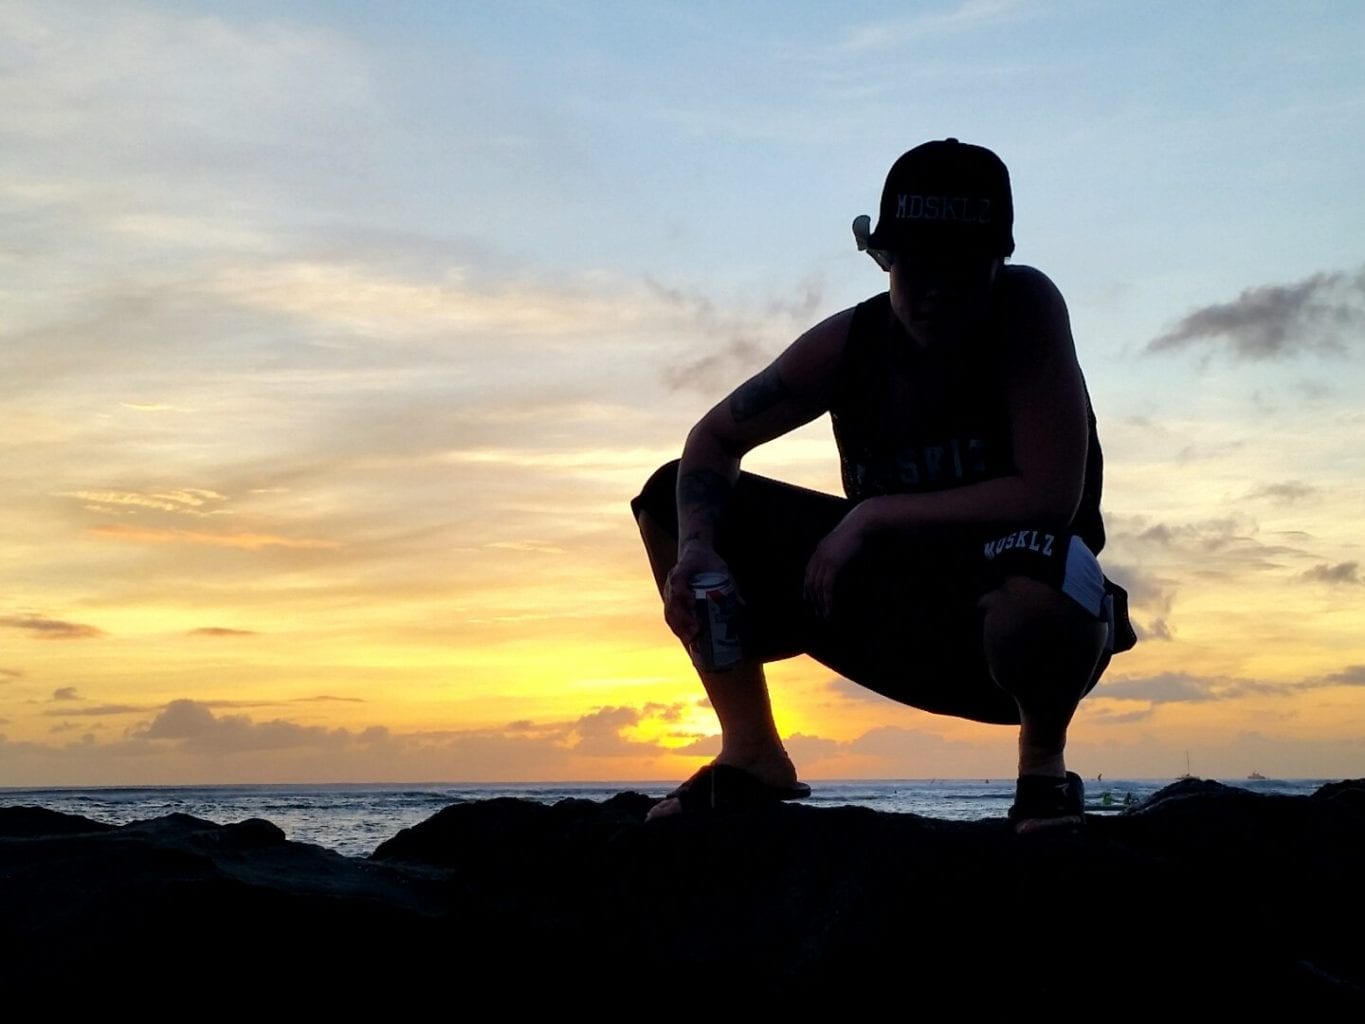
In the first image below, the backlighting makes Pam too dark (although it really brings out her sunburn line). In the second image, backlighting was intentionally used to create a dramatic silhouette.
- If your subject looks dark and you can’t change your angle, on most smart phones and cameras you can focus on the ground by tapping/holding the screen or holding the shutter release part way down and then raising the camera to frame the subject the way you want. The settings from focusing on the ground are applied to the subject, which should then brighten.
- Avoid flash whenever possible. Aside from the obvious red-eye and whited-out skin, photos taken with a basic flash lose a lot of tone and colour, and are difficult to retouch. If you have to use flash ensure you’re within 10′ of your subject, otherwise the flash won’t reach and will only illuminate whatever is in front of you (like the back of someone’s head).
3. Framing
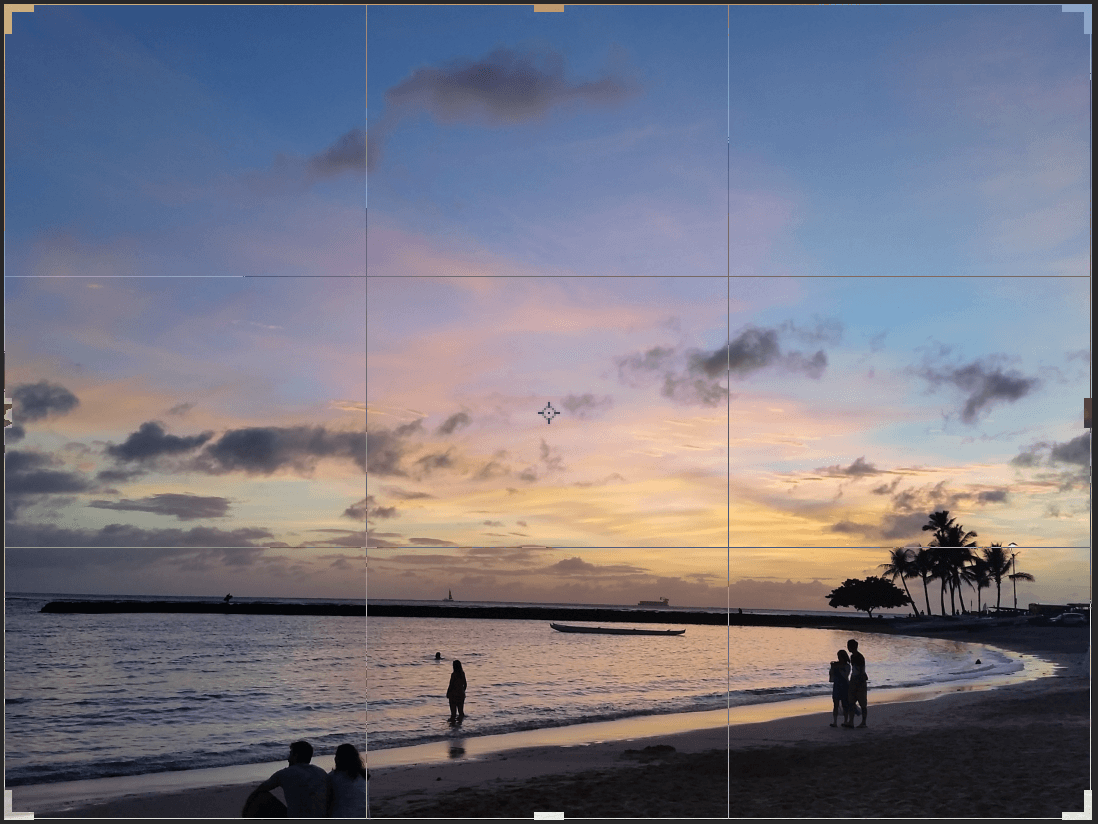
We highly recommend turning on your camera or smart phone’s grid functionality. This will help you get a straight, balanced, and visually pleasing photograph. While it’s possible to straighten a crooked horizon or subject if you have photo editing software, for most people it’s ideal to get it right the first time. Other things to think about:
- How are images featured in your blog’s design — are they full screen width, or small and tightly cropped? Does your design use square images or landscape? Use these insights when taking your photos to avoid disappointment when your beautiful shot can’t be used with your story. If your photo will need to be cropped square, leave a little room on either side of the subject and don’t place anything crucial in those areas. And if your site uses landscape photos, make sure you aren’t holding your smart phone upright.
- Do you want to feature the award your team is holding, or their entire bodies including their shoes? Stand back to get the entire subject if it’s important, or move in closer to focus on smiling faces.
There are plenty of articles, blogs, tips and how-tos out there to help improve your visual content. A little reading can prepare almost anyone to #Forge a better quality photo for their blog. Strong photos help build strong website content, and that’s what your audience wants.
Tune in next time for the second part in our series, and learn to #Smith your images using basic editing techniques. Same bat-blog, same bat-channel.